Cloud Storage
Note: This feature is available in Ultimate and Team editions, as well as in CloudBeaver Enterprise.
Table of contents
Overview
Cloud Storage extends the functionality of Cloud Explorer to enable file management within cloud environments of Amazon Web Services (AWS), Google Cloud Platform (GCP), and Microsoft Azure. This feature simplifies the process of interacting with cloud-stored files. To use Cloud Storage, you must have either an existing cloud provider access connection or configure a new one.
The following are the specific cloud storage services that Cloud Storage interacts with in each cloud environment:
- AWS: Amazon Simple Storage Service (S3)
- GCP: Google Cloud Storage
- Azure: Azure Blob Storage
Tip: For detailed setup instructions, refer to the Cloud configuration section in the Cloud Explorer article.
Cloud Storage
After configuring your cloud provider access, you can start using Cloud Storage. To access it, follow these steps:
- Click the Cloud Storage button
 on the toolbar.
 - Alternatively, go to the menu and select Window -> Cloud Storage.
This action will launch a window displaying the cloud services for which credentials were provided during setup. In this window, use the dropdown menu to navigate through folders and view files stored in the cloud.
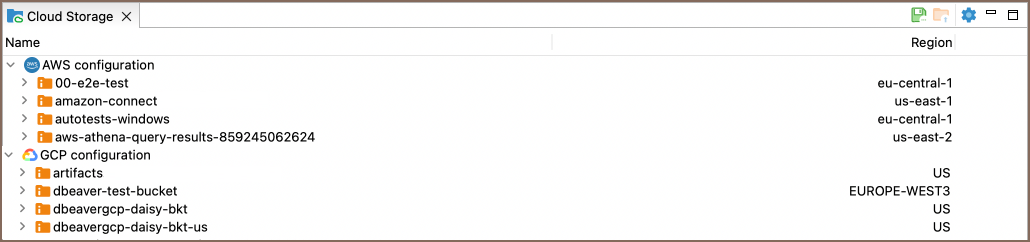
You can filter and sort your folders and files by their name or region using the interface's Name and Region columns. Click
on the respective column header to organize the displayed folders, according to these criteria, especially useful when
managing a large number of folders.
Capabilities in Cloud Storage
The Cloud Storage offers a range of functionalities for managing files within the cloud. Here are the actions you can perform:
Direct capabilities in Cloud Storage
Some functionalities are directly accessible within the Cloud Storage interface:
| Capability | Description |
|---|---|
| Open Resource | Open a folder in a new window to view details like Name, Path, Size, Location, and Last Modified. Double-click on the folder, or right-click on the folder and select Open resource folder name from the context menu. Use the Configure columns button In the opened window, use the Search item button |
| Create new folder | Create new folders within the cloud environment. To do this, right-click where you want the new folder and select Create New Folder button |
| Save resource(s) to local disk | Save selected resource(s) from the cloud to the local disk. Select the file(s) or folder(s) in Cloud Storage you wish to download, then choose the Save resource(s) to local disk option |
| Load resource(s) from local disk | Upload resource(s) from the local disk to the cloud. Select the target folder in Cloud Storage where you want to upload files, then choose the Load resource(s) from local disk option |
Tip: In addition to the Save to Local Disk and Load from Local Disk features, you can also copy files using the drag-and-drop mechanism.
Additional interactions via other features
Some functionalities of Cloud Storage are accessible through the integration with other features of DBeaver:
| Capability | Description |
|---|---|
| Export/Import files | Export to or import files from folders within the Cloud Storage. Details are available in Data transfer article. |
| Backup/Restore | Perform backup and restore operations using files from or saving outputs to the Cloud Storage, as detailed in Backup and Restore. |
| Data compare | After comparing files or folders, save the results directly to Cloud Storage. Details are available in Data Comparison. |
| Schema Compare | Compare database schemas and optionally save comparison results to Cloud Storage. Further information is found in Schema Comparison. |
Tip: To ensure you see the most updated information after performing file-related actions in Cloud Storage, it's important to refresh the folder manually. Right-click on the folder and select the refresh option
from the context menu.