Cognito OpenID Authentication
Table of contents
Note: This feature is available in Enterprise, AWS and Team editions only.
Overview
Cognito OpenID Authentication provides a robust solution for managing user authentication and access in applications. By integrating with Amazon Cognito, it utilizes the OpenID Connect protocol to offer a secure and scalable user management system. This method simplifies the authentication process. For detailed instructions on setting up Cognito OpenID, it is advisable to consult the official Amazon Cognito documentation.
Configuration steps
Step 1: Enabling Cognito OpenID Authentication
As an administrator, go to Settings -> Server Configuration.
Find the AWS option (in the Configuration section) and Cognito OpenID (in the Authentication Settings section). Activate this setting to enable Cognito OpenID authentication.
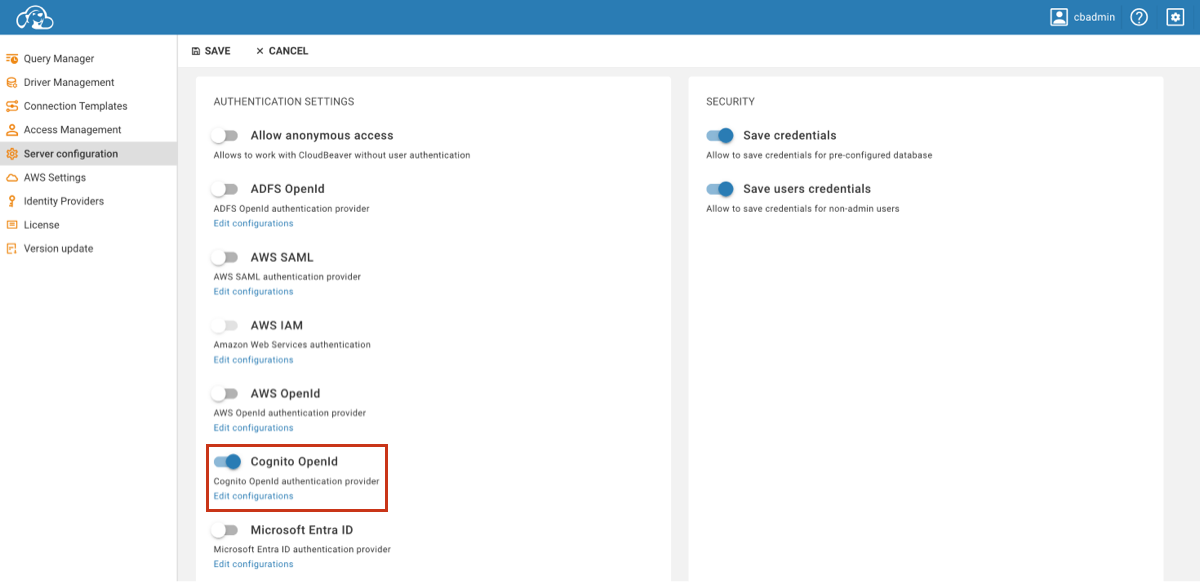
Save the changes.
Step 2: Adding an Identity Provider
As an administrator, navigate to Settings -> Identity Providers.
Click on the + Add button.
Fill in the following fields:
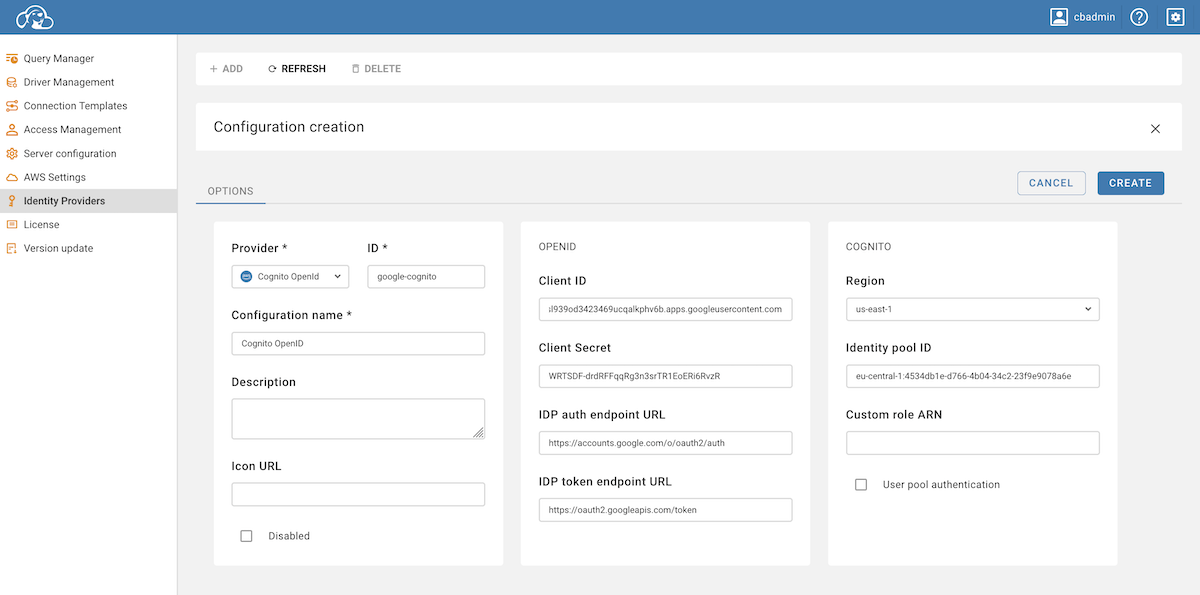
Field Description Provider Select Cognito OpenIDfrom the dropdown menu.ID Enter a unique identifier for the configuration. Configuration name Enter a descriptive name for this configuration. Description Provide a brief description of this identity provider configuration. Icon URL Enter the URL of an icon to represent this provider. Disabled Leave unchecked to enable this identity provider. Client ID The client identifier provided by the OpenID Connect provider. Client Secret A secret key associated with the client ID for authentication. IDP auth endpoint URL The endpoint for initiating the authentication process. IDP token endpoint URL The endpoint for obtaining access and refresh tokens. IDP userinfo endpoint URL Fill in with the endpoint URL found in the Amazon Cognito User Pool under "App integration". Region Specify the AWS region of your Cognito User Pool. Identity pool ID Enter the ID of your Cognito Identity Pool. Custom role ARN Provide ARN of the role that will be used by the users during authorization. Click on the Create button.
Copy Redirect and Sign out Links:
- Enter the newly created identity provider.
- Copy the Redirect link and the Sign out link.
Update Redirect URIs in Amazon Cognito.
Step 3: Logging in
With the Cognito OpenID configuration now established, proceed to the login screen.
Select the Federated authentication method, labeled with the Configuration name you specified.
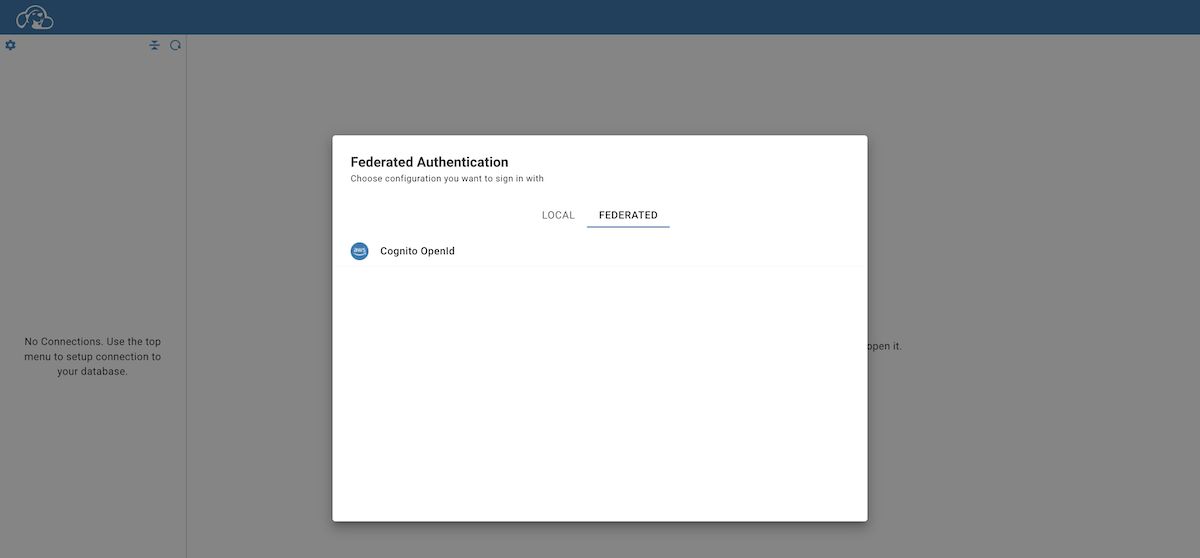
Clicking on this authentication method will redirect you to the Sign in with Google page.
After selecting the necessary account, you will be automatically redirected and logged into the CloudBeaver.