How to connect DBeaver or CloudBeaver to PostgreSQL on a separate VM in Azure
Table of contents
Connect your VM with CloudBeaver to PostgreSQL
Configure a peering for your networks
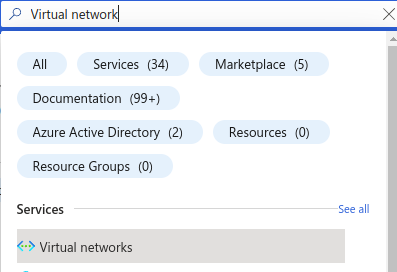
- Log in to your account in Microsoft Azure and go to
Virtual networks.
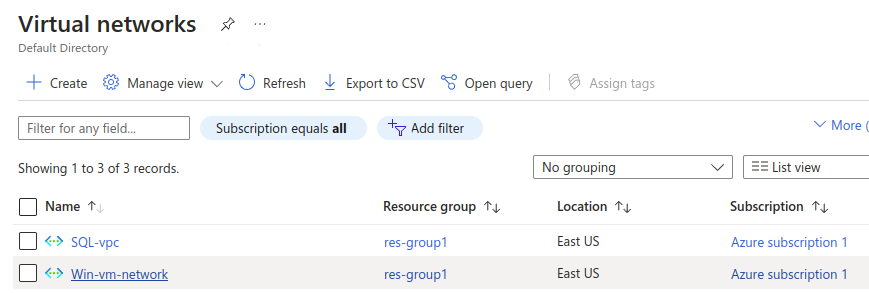
- Select the network that you created during the VM startup process.
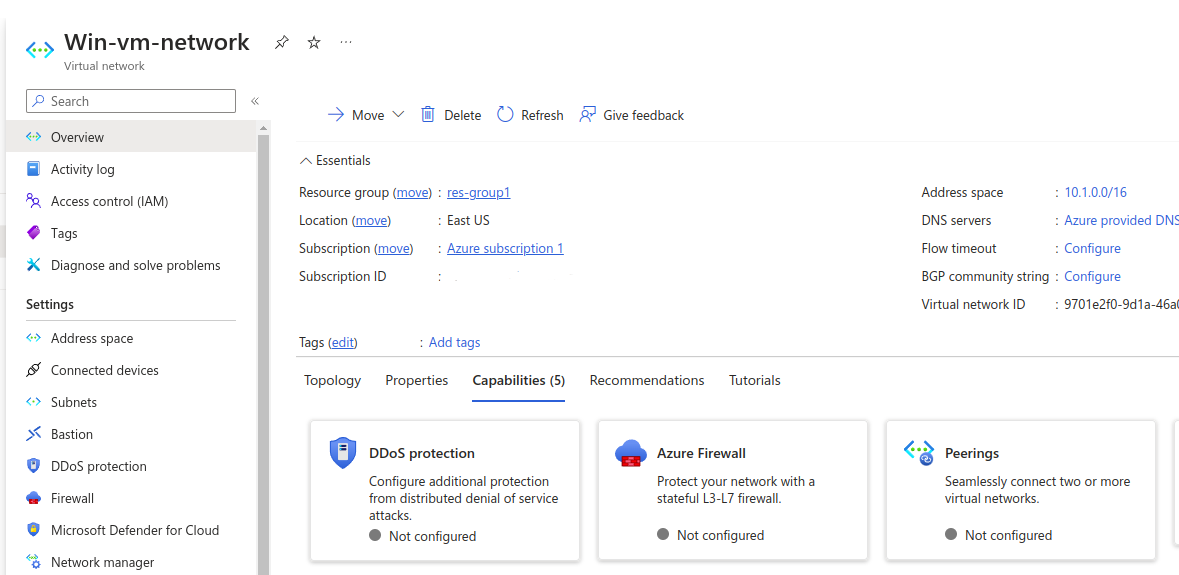
- Select
Overview->Capabilities->Peeringsand clickAdd peering.
- The
Add peeringwindow will be opened.
In the
Peering link namefield add the name for the new peering.In the
Virtual networkfield select the network where your database is located (SQL-vpcin this case).
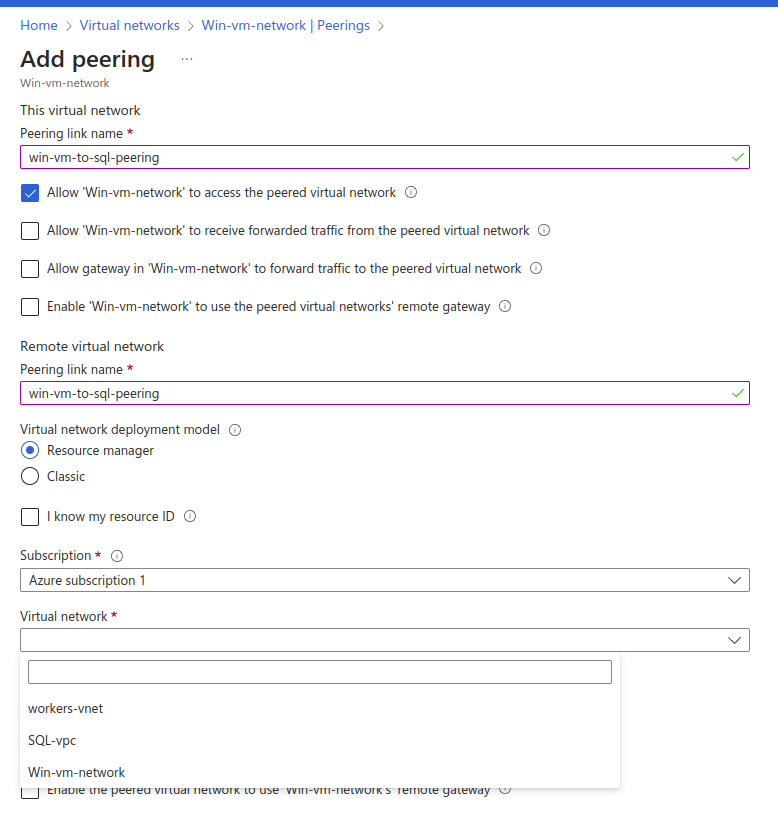
- Click
Create. The peering is configured.
Run CloudBeaver on the Linux VM and connect it to PostgreSQL
Step 1. Running CloudBeaver
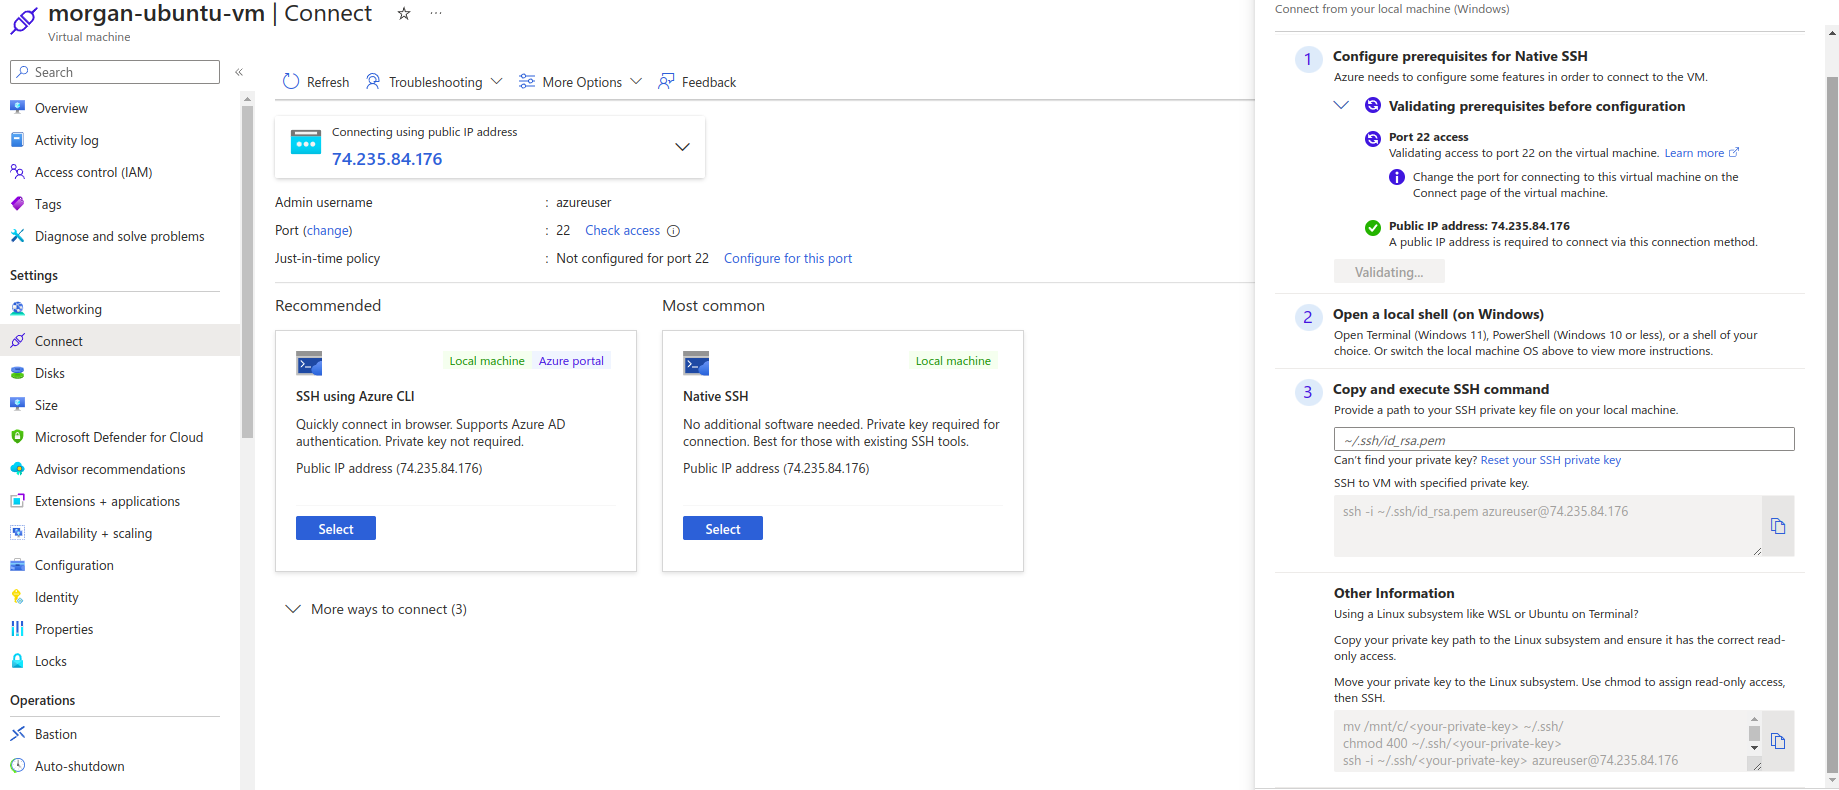
- Connect to your Linux VM via SSH:
ssh -i ~/.ssh/<your_pub_key> <username>@<your_ip>
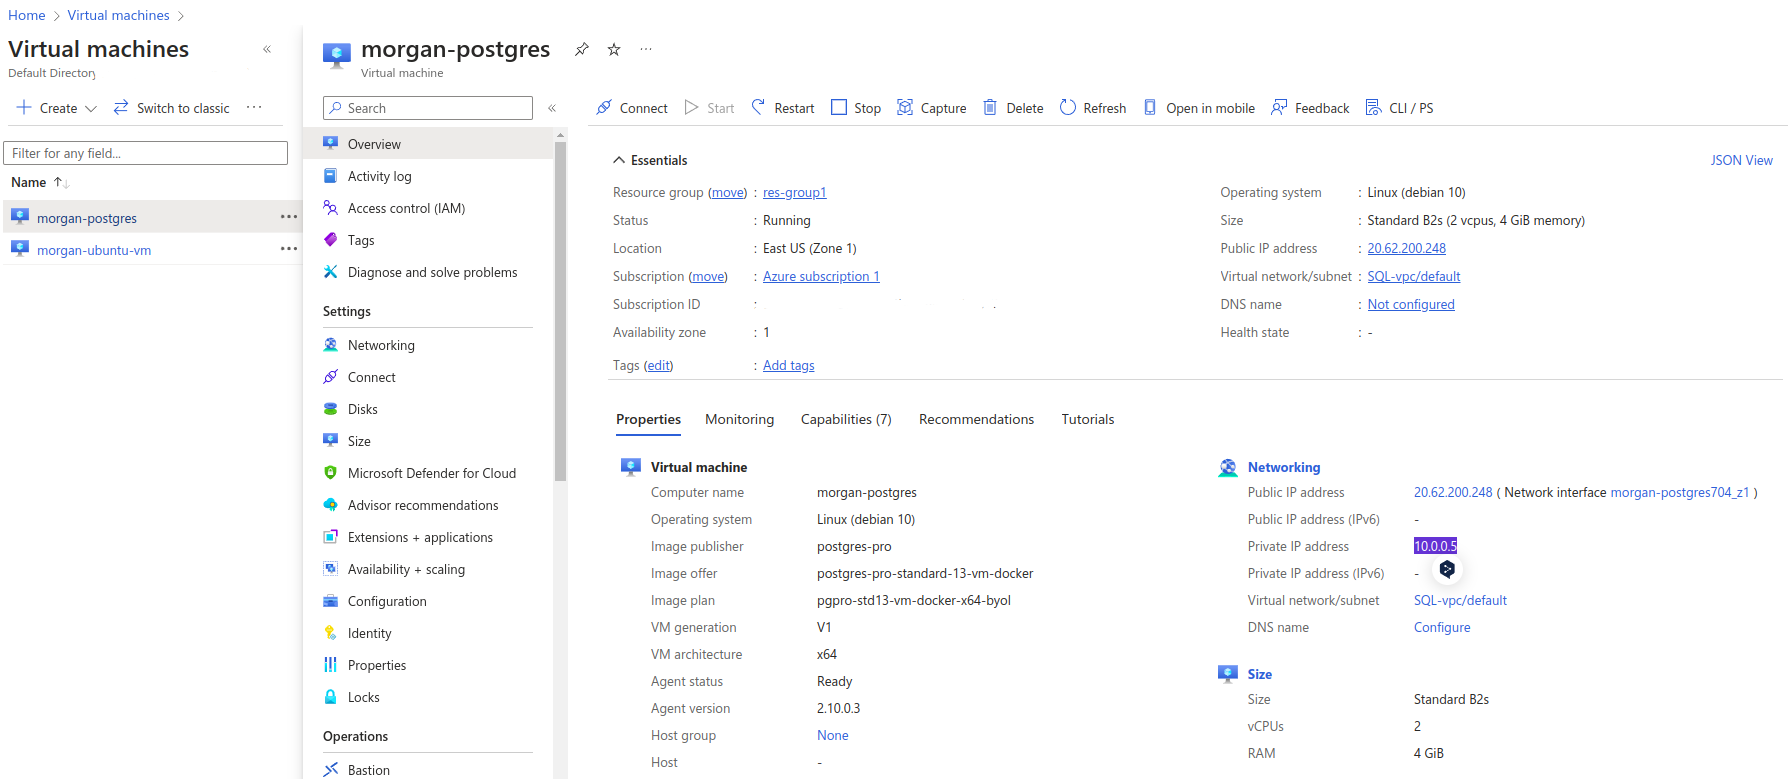
- Check that your Linux VM has access to your SQL DB private IP.
- Copy the private IP address of your database in
Virtual machines->Your SQL DB->Properties->Networking.
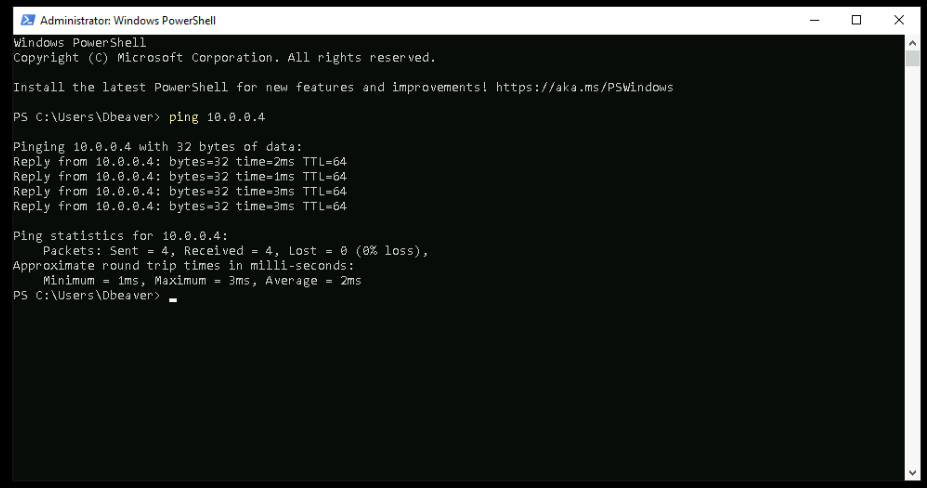
- Ping this IP in the terminal:

If everything was done correctly in the previous steps, you will get the result as in the screenshot above. All that remains is to connect our CloudBeaver server to your database.
Install Docker if it is not installed. Check this documentation for details.
Run CloudBeaver with this command:
docker run -d --name cloudbeaver-ee --rm -ti -p 8080:8978 -v /var/cloudbeaver/workspace:/opt/cloudbeaver/workspace dbeaver/cloudbeaver-ee:latest

You can learn more about CloudBeaver deployment in our documentation.
Step 2. Configure your network to access CloudBeaver
You need to make small changes to the network configuration so that you can access CloudBeaver UI.
- Go to
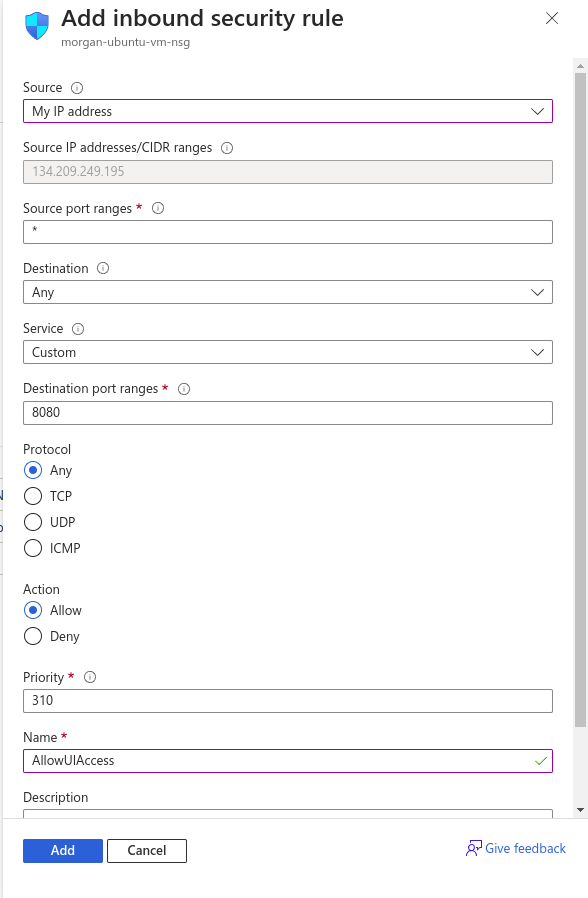
Virtual machines->Networking->Inbound port rules->Add inbound port rule
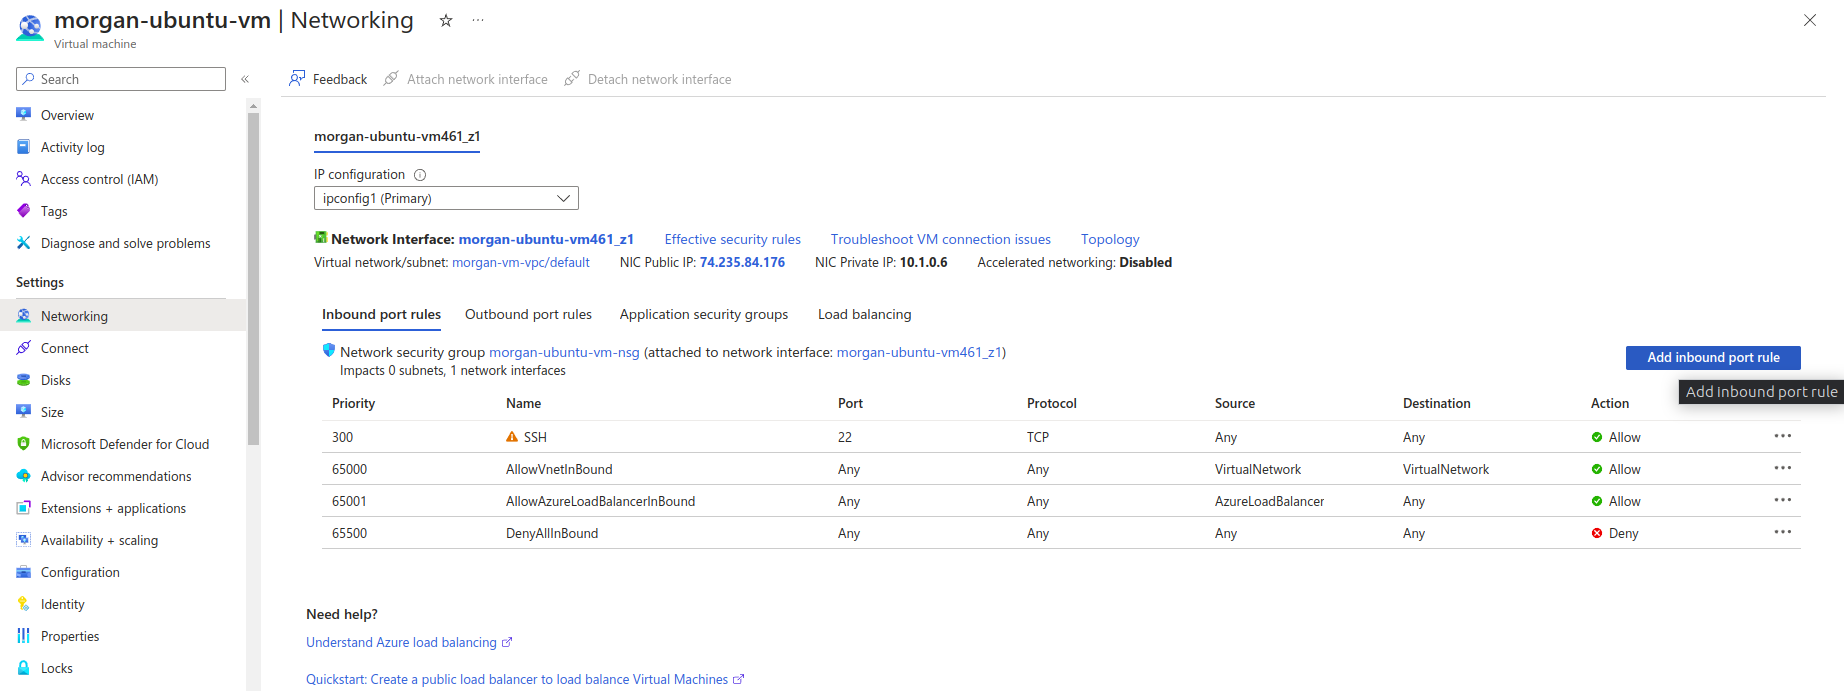
- Add access to port
8080. For security reasons, we recommend specifying your IP or the IP of your proxy in the resource to avoid third-party access.
- Open in browser
http://<your_vm_ip>:8080
That's all done! You are in the CloudBeaver interface.
Step 3. Configure CloudBeaver and connect to PostgreSQL
- Enter your license key and configure your server.
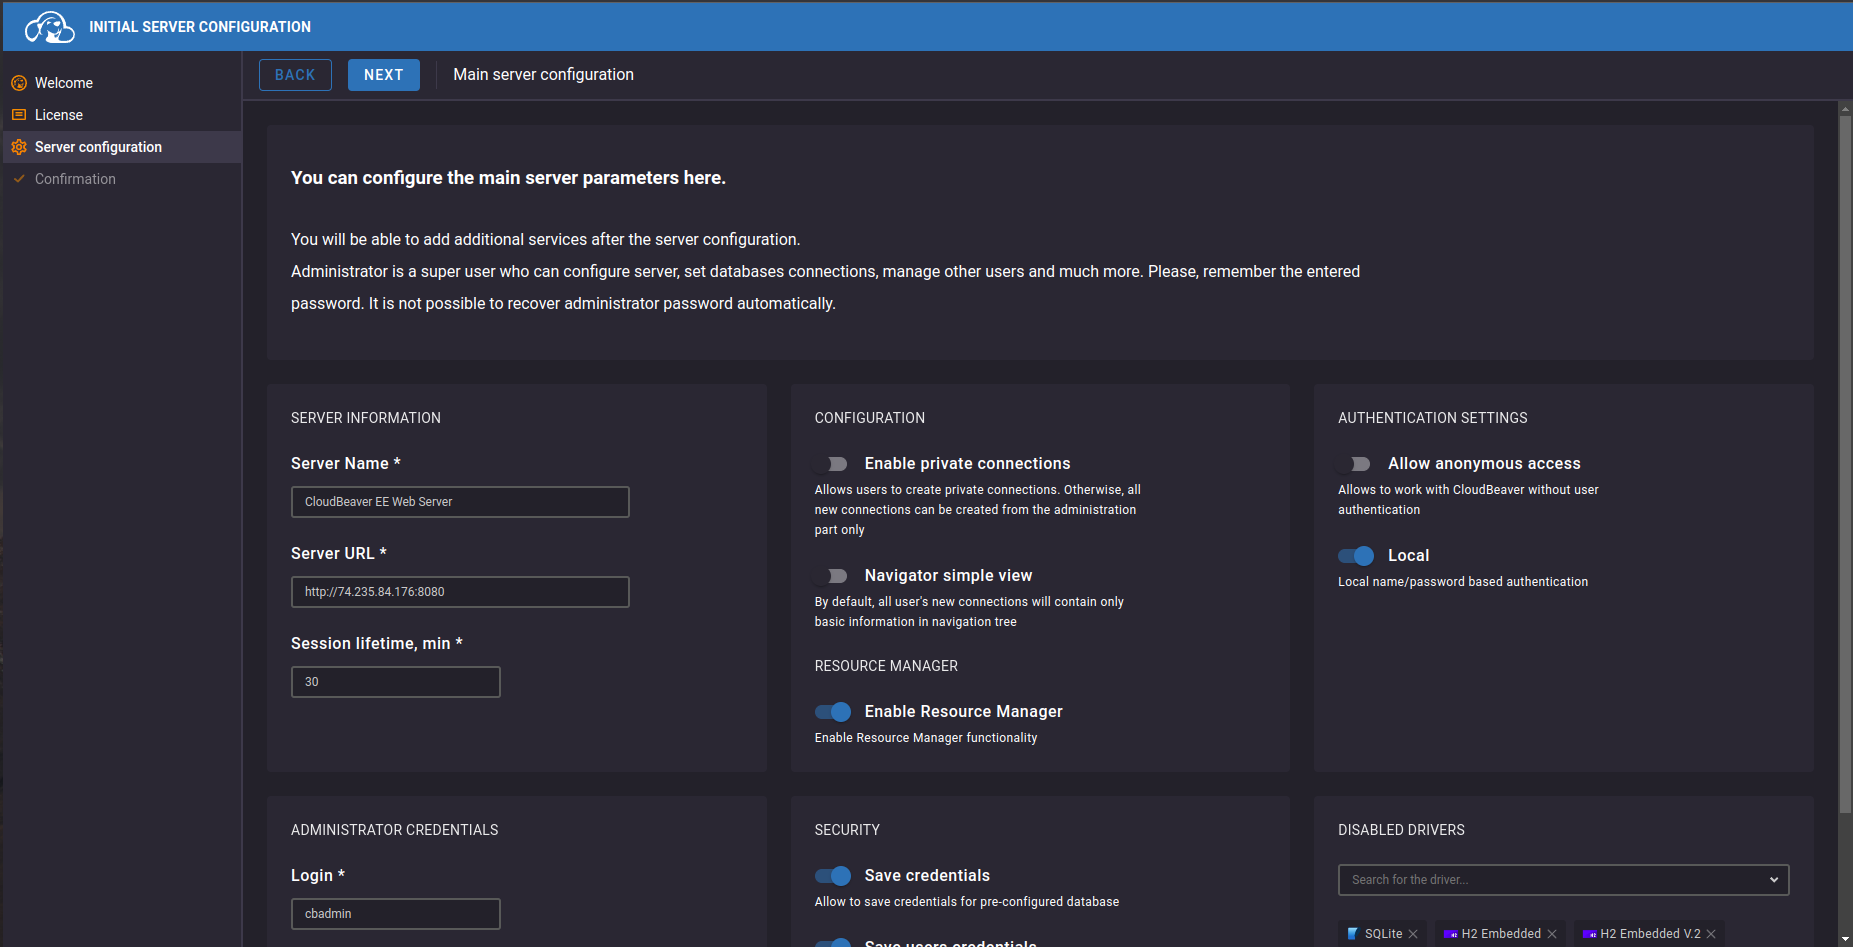
Go to
Connection Templates, clickAdd, and type your database name (PostgreSQL for example).In the
Hostfield enter the IP address of your database you received earlier and indicate the authorization data for your database.
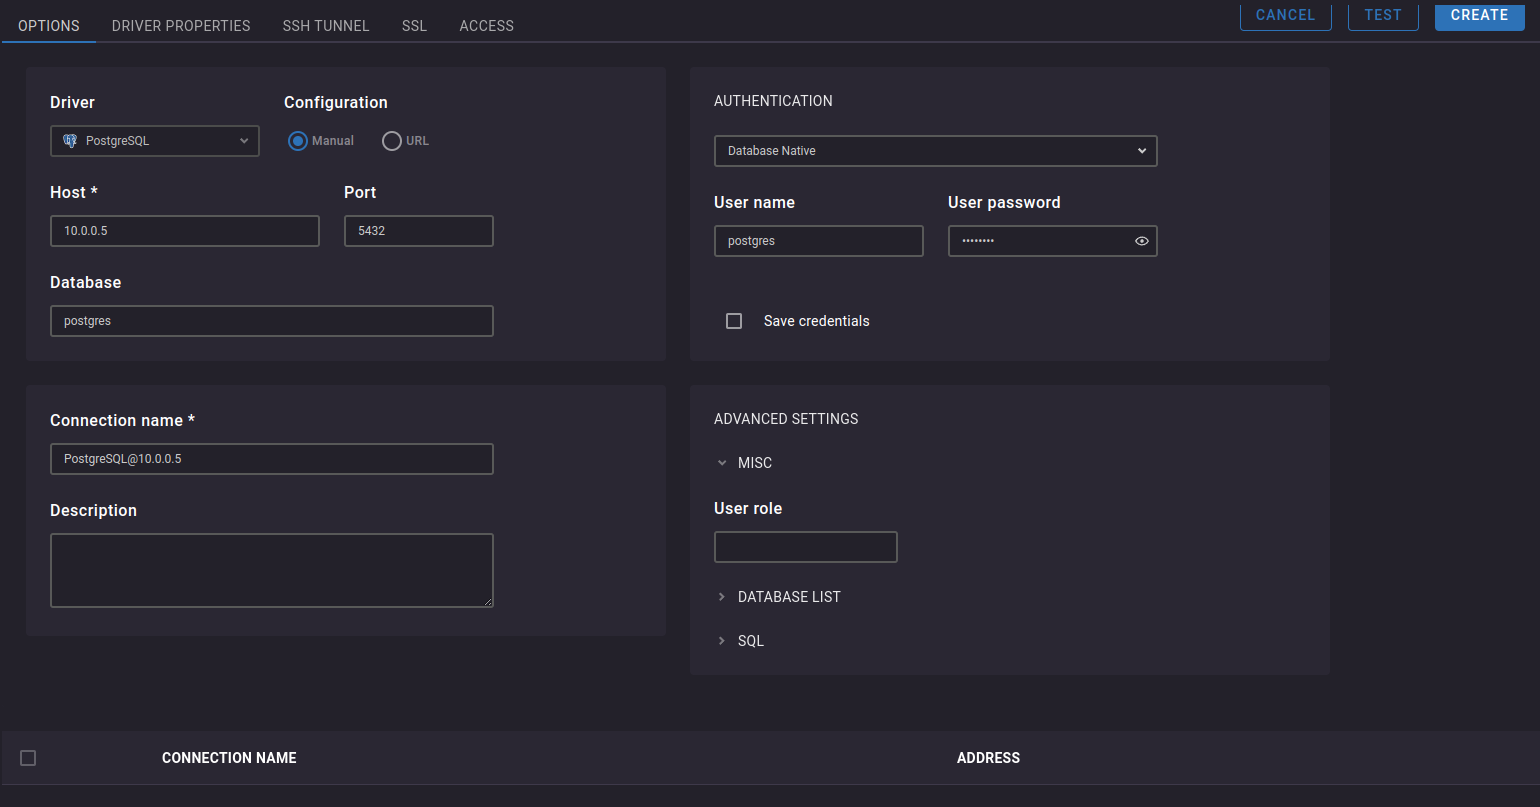
- Click
TESTto check that your configuration works.
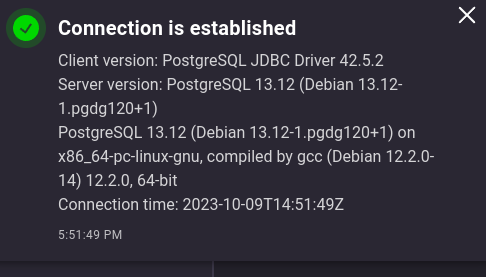
- Perfect! Now click
CREATEin the top right. Connection to your database is added to CloudBeaver.

Connect DBeaver from Win VM to PostgreSQL
Connect to your Windows VM by using RDP.
Check that your Linux VM has access to your SQL DB private IP.
- Copy the private IP address of your database in
Virtual machines->Your SQL DB->Properties->Networking.


- Ping this IP in the terminal:
If everything was done correctly in the previous steps, you will get the result as in the screenshot above. All that remains is to connect our DBeaver to your database.
Add your license when starting the application.
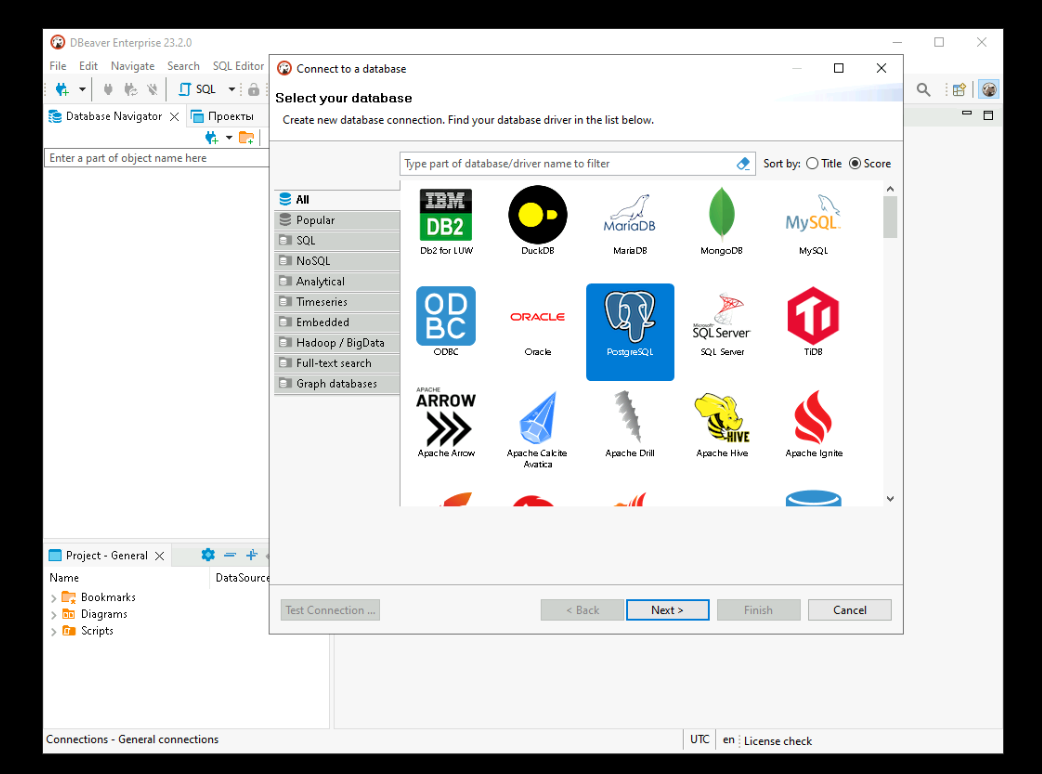
Create a new connection and choose your database (for example, PostgreSQL).
- In the
Hostfield, specify the Private IP address of your database and fill in other fields.
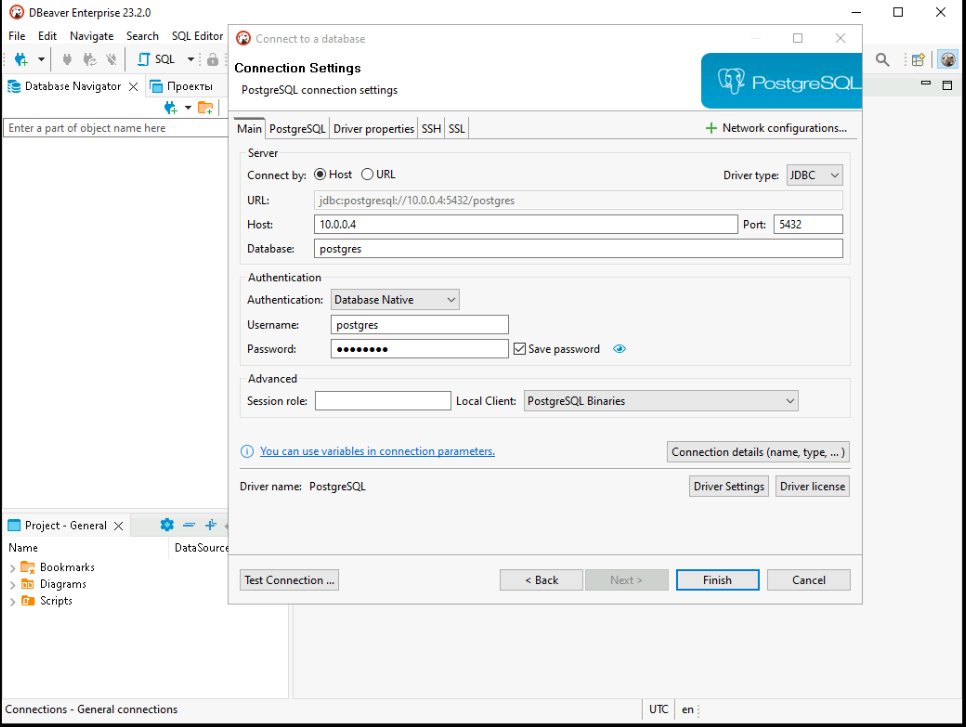
Perfect! Your connection is ready.
